 Daniel
October 27, 2026
The Making of a Mandala
Look at the top left corner of this page. That small round blue pattern next to my name is a mandala.
When I built this website in August 2026, I wanted a beautiful mandala as its mark. At the time I was working on a design, a concept I wanted to make for real one day. I wrote the code for it, rendered a prototype, and gave it a deep blue. The prototype was sitting in my downloads folder, ready to go, and it became the face of this site. The small mark up there is an early version of it. Here is the design I am building now, in full.
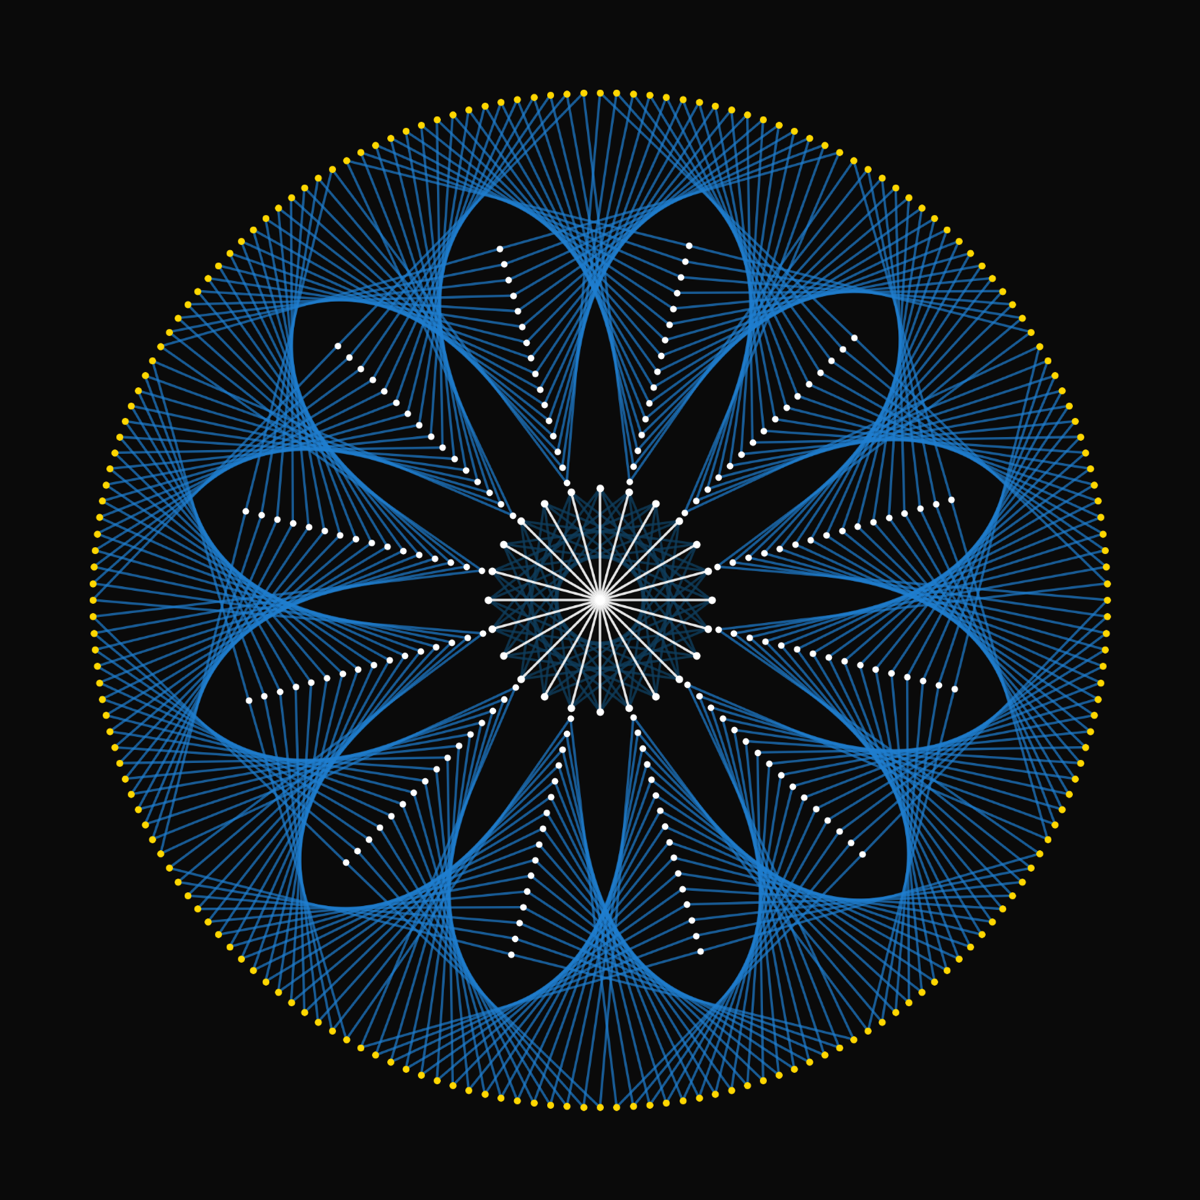
Now I am making it. I thought it would be interesting to show you, and future me, how each mandala gets a little better, in the process and in the design.
The board
First things first. You need a board, at least an inch thick. That means a trip to Home Depot, and after wandering the aisles I found the best fit in a place I did not expect. Table tops. Yes, table tops. They come round, smooth, and in different sizes. I have tried two so far, one 24 inches across and one 18 inches.
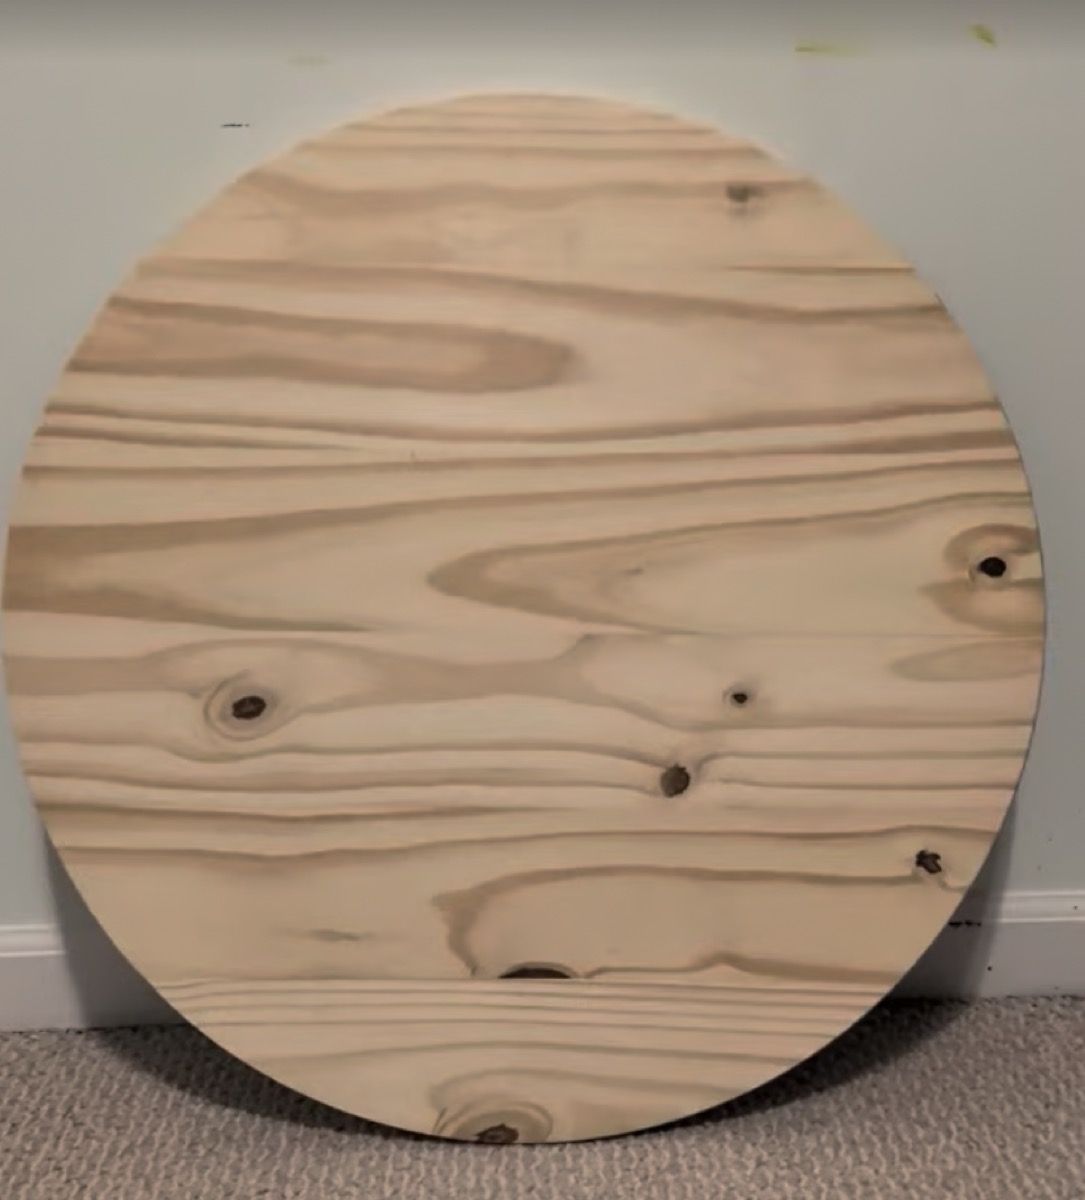
When I carry one into the house, my wife gives me a strange look. I know what she is thinking. I don’t know what this man is up to now. I keep grinning like an idiot and keep walking, straight down to my man cave in the basement.
The prep
Before any paint goes on, I look the board over for small abrasions, dents, and knots, and fill and smooth them. Then I paint it. I have tried a couple of ways here. The first time I went cheap, a simple flat blue and black from Home Depot. This time I used acrylic, which I have plenty of in the man cave anyway. The acrylic goes on richer and deeper, and that is the first way this mandala is already better than the last one.
The design
This is the part that trips most people up. A mandala looks deceptively simple. It is not. Without solid math behind it, it is very hard to design and build. Think of all the angles, the spacing, the count of nails on every ring, and how each line has to land on the right nail across the circle.
This is where my coding skills come in handy. I draw the design on paper first, then I code it, and the code tells me exactly where every nail goes. We live in an AI world now, so you can ask Claude to write that code for you. It will not understand a complex pattern on its own, but you can teach it by showing it your hand drawn sketches.
Onto the board
Next the design has to move from the screen to the wood. There are two ways to do it. Print it as a blueprint and transfer it, or draw it by hand with a pencil, a ruler, and a triangle. Both work. Both take time.
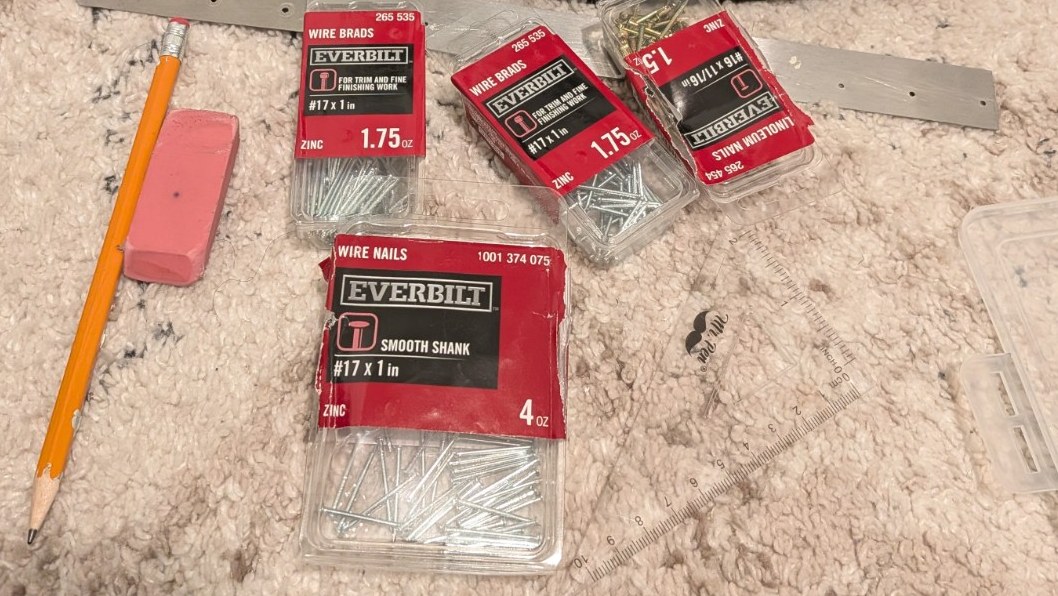
Once the design is on the board, the nailing starts. Here is what I use.
- A round table top, at least an inch thick
- Acrylic paint
- Wire brads and wire nails, 1 inch long, hundreds of them
- A pencil, an eraser, a metal ruler and a triangle
- Cotton thread in the colors of the design
- A decent hammer
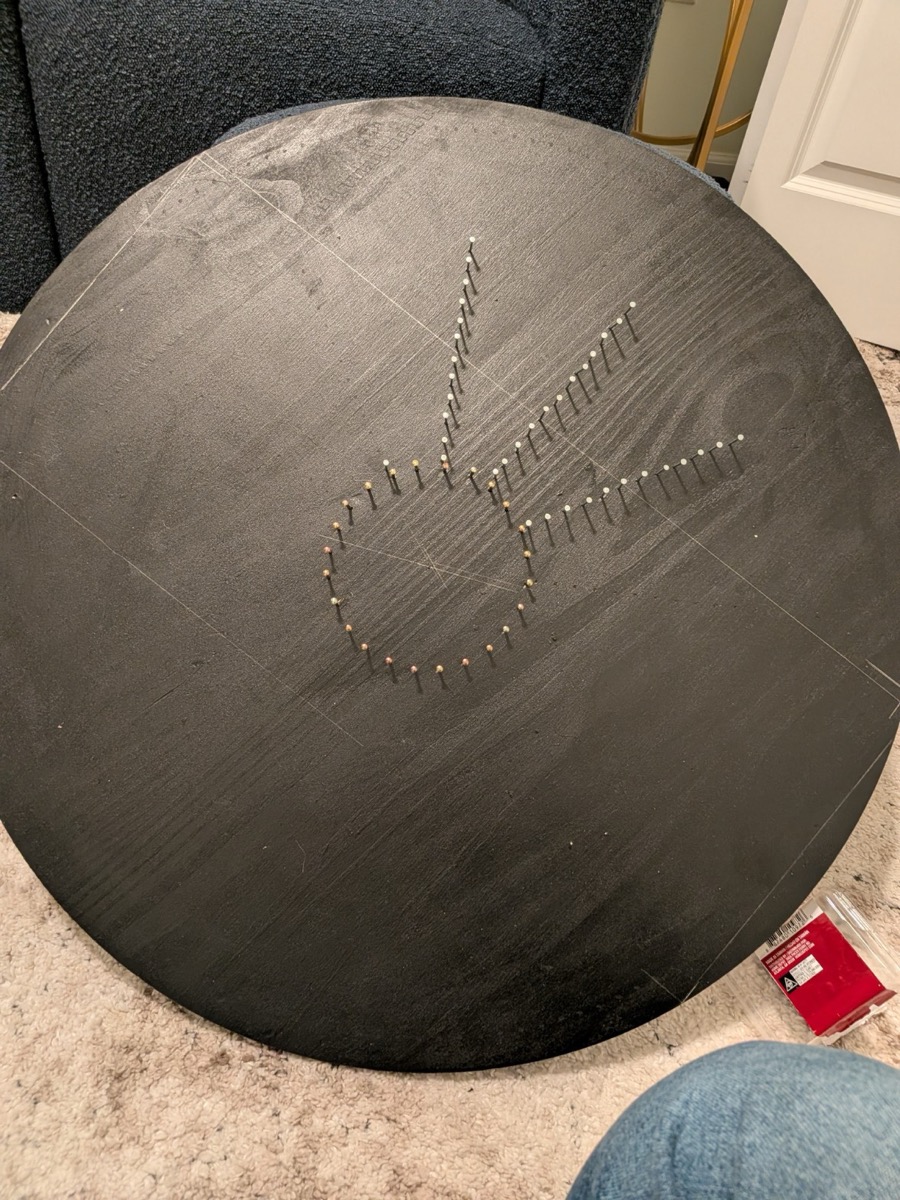
Every time I do this job, my whole family upstairs knows I am making a mandala. It cannot be a secret project.
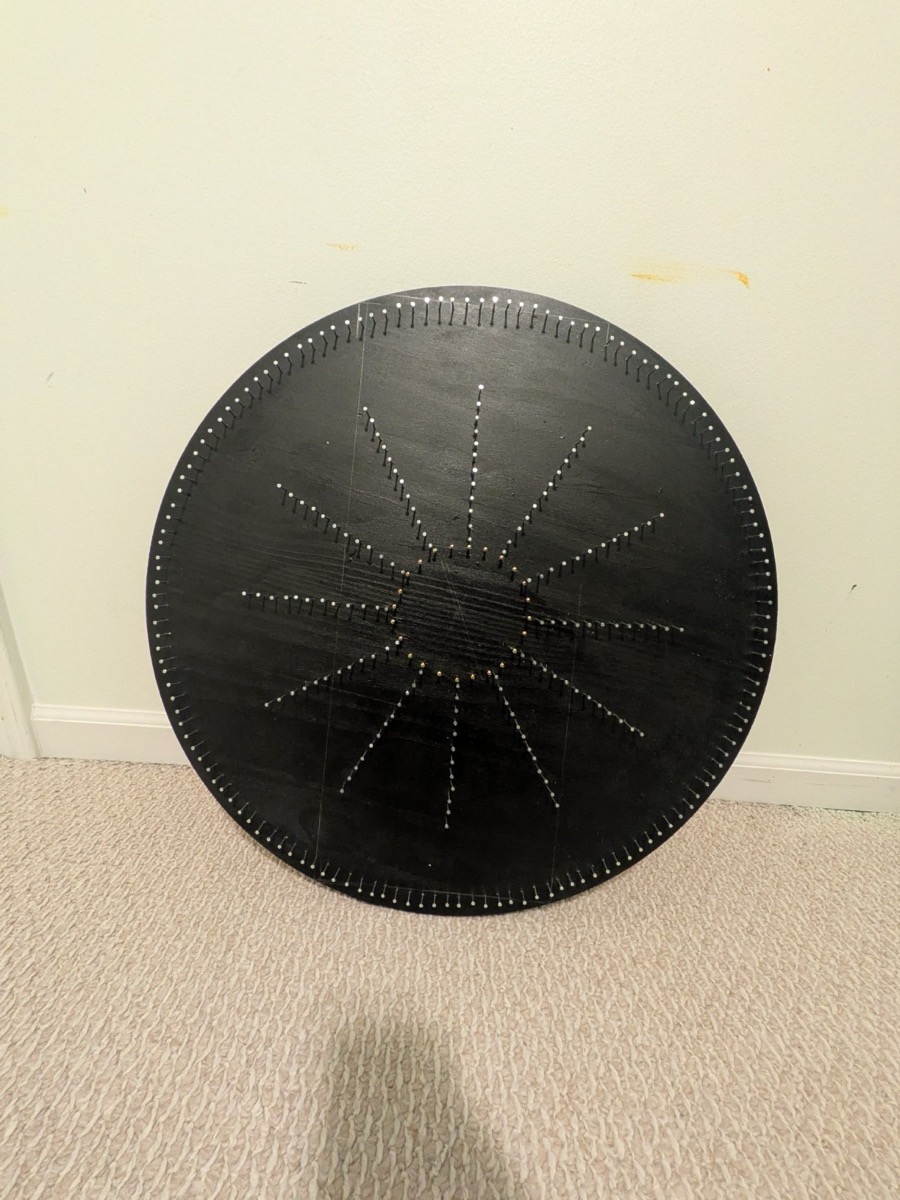
The threading
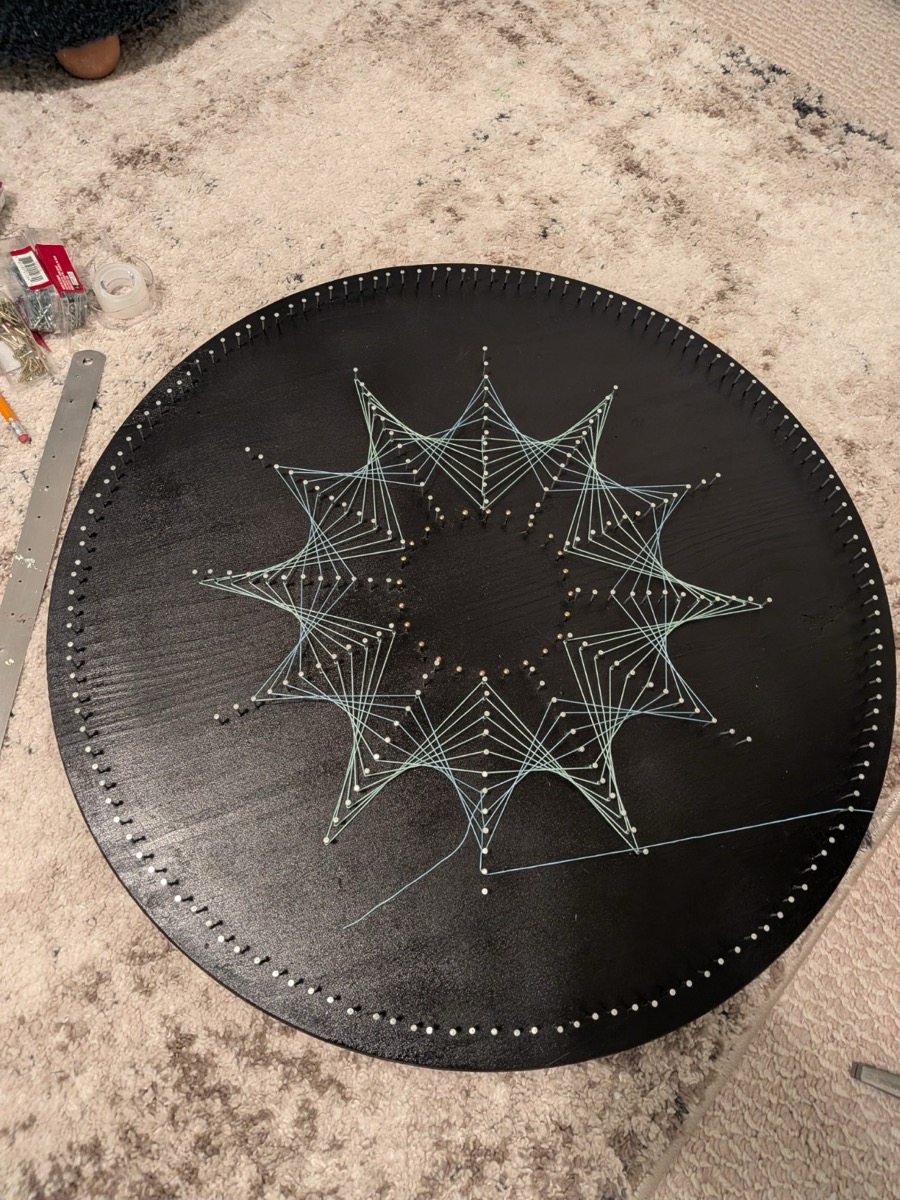
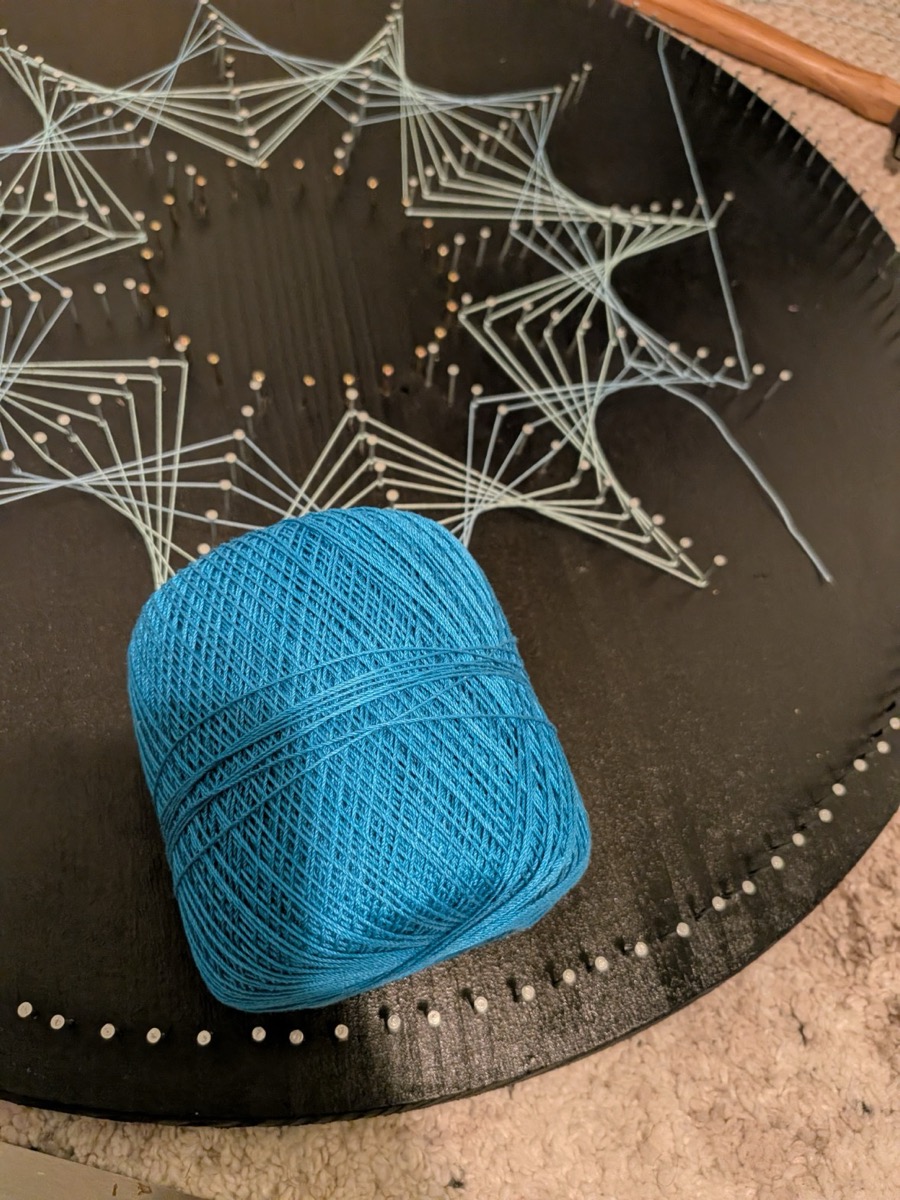
The last part is the most fun. Threading. It takes time, but you can lose yourself in it. There is a lot of careful counting of nails in this step, and that counting is what brings out the beauty and the geometry. I have always seen mandalas as mesmerizing structures. Making one is just as mesmerizing.
The finished piece
Here it is, finished.
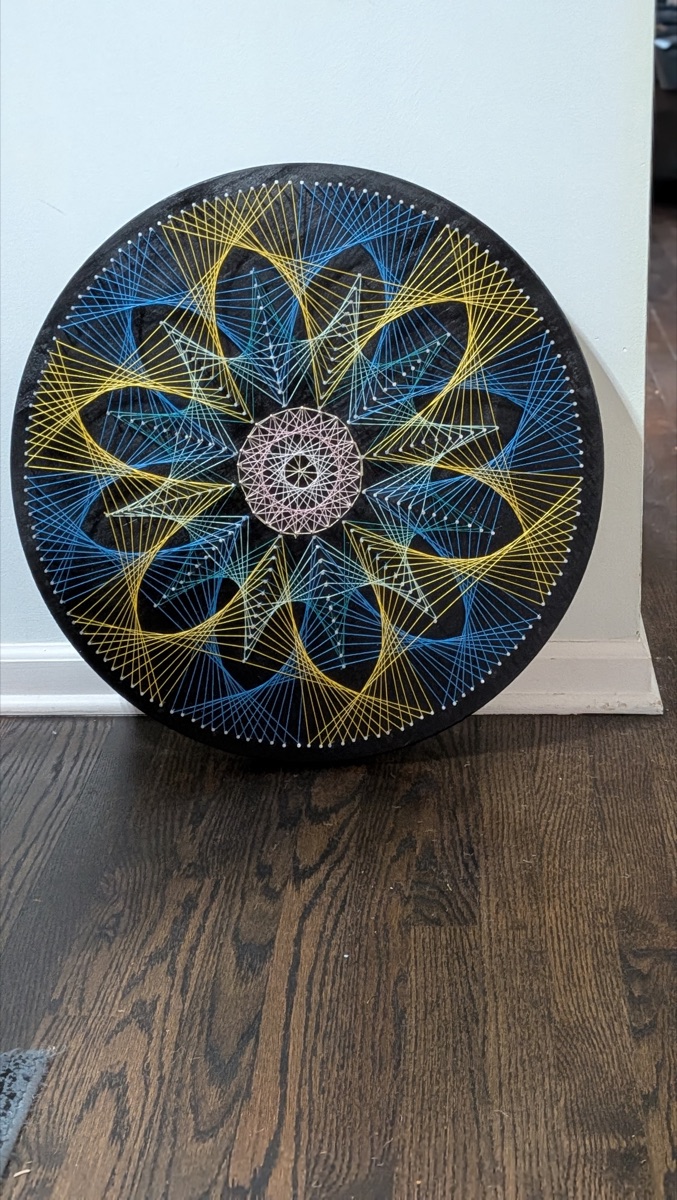
It now has its own page, with more photos and the story behind it: Before It Settles. You can see the other mandalas I have finished on my Mandalas page.
If you want to make one yourself and need suggestions or patterns, send me a note at [email protected]. We can make one together. :) The world desperately needs more art, and more love for one another.